![]()
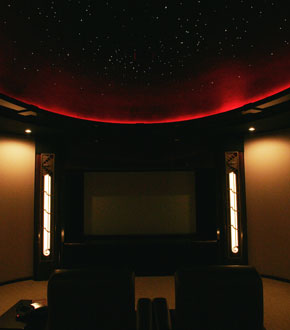
CineStarPanel™ Installation & Specifications
CineStarPanel™ Star Ceiling Panel Design and Installation Tips
Click here for a pdf file with complete installation instructions.
 We
start with reinforced fiberglass master sheets of 4' x 8' x 1" and will cut to fit your project
- singles, or multiples to evenly fill your ceiling area, plus
custom areas with radius cuts
and other special shapes available to suit your setting. You can
easily field cut the panels for speakers above, "can" lights, projector poles, air
vents and the like, plus you can tap on the edges if the fit is a
bit too snug.
We
start with reinforced fiberglass master sheets of 4' x 8' x 1" and will cut to fit your project
- singles, or multiples to evenly fill your ceiling area, plus
custom areas with radius cuts
and other special shapes available to suit your setting. You can
easily field cut the panels for speakers above, "can" lights, projector poles, air
vents and the like, plus you can tap on the edges if the fit is a
bit too snug.
CineStarPanel™ 2' x 2' and 2' x 4' panels can be made to fit standard "T-grid" suspended ceilings. However, ceiling grid systems are not recommend for rooms with audio systems, as they vibrate with sound. We also no longer offer domes, as they're a parabolic dish that gathers and focuses sound from the room to directly below the dome - not at all good for proper sound quality.
We use Rotofast anchors (click here for info), as they make for quick, simple installs that any handy person can do in no time. No side, or overhead access is needed for installation, as the panels install straight up to your ceiling, even into coffered areas. A screwdriver and an Allen wrench to install the anchors, plus 2 people with 2 step-ladders, are all that's needed to quickly install the panels - they're lightweight, but bulky, so 2 people are needed. The Rotofast anchors even self-level the panels for a perfect, virtually seamless installation. We also offer Cloud Anchors for suspended star panel installations.
CineStarPanel™ Power, Wiring and Install Tips
Powering Star Panels: You need to to plug our provided 12 volt power transformer with 3-prong cord into a switched outlet in your equipment stack, or mechanical room, or whatever area works best for your setting. Do not dim, as it’s a transformer that needs constant AC. You can use a standard wall switched light outlet, or the best is to use a switched AC Outlet Module from the remote control company you use so the on and off is already programmed into the remote.
You may also want
to connect the power supply to a
triggered power strip that you may
already use to power up your AV
electronic equipment stack. You can
install a recessed switched AC outlet
above the star ceiling location with a
light switch on your wall to turn it on
and off, but recessing the @ 7" x 4" x 2"
transformer with 3- prong power cord will take
quite a bit of ceiling space and the
transformer gets a bit hot, so this is
the least desirable power method – plus
a transformer in the ceiling probably
won’t meet local building code
requirements.
Pre-wiring Star Panels: Pull one
Cat5/6 from your equipment stack, or a
mechanical room/head-end, to anywhere
above the star panel area. This will
power the whole low voltage panel area,
plus run power and control signals for
our optional LED accent lighting. Leave
plenty of extra cable at the panel end, so
it can drop down
from the ceiling and easily attach to the top of
the star panel area when it's resting on
2 step-ladders - attaching the one to
the center of any panel,
Connect the Cat5/6 wire from our
power supply to the first star panel and
we provide the power jumper cables to
then simply connect
panel to panel (dasly-chain). If you're considering
multi-color remote control accent
lighting near the star area, that's also
handled through the single Cat5/6 wire
you've pulled. CineStarPanel™ products don't
require licensed electricians to install
, as they use low-voltage 12 volt DC
power, enabling easy installation and
very efficient, dependable operation.
Installing Star Panels:
click here for our installation
guide and it's important to install the
Star Panels last in your setting,
otherwise you will be getting on a step
ladder and using a lint roller to remove
dust and any particles in the air from
the panels. They are best installed in a
finished room with usually a painted
drywall ceiling that meets all code
requirements. We can also suspend panels
by a few wires for unusual ceilings and
coffered areas, as our panels are
light-weight and don't require
load-bearing support.
Installation Parts: we use
Rotofast anchors (click here for info),
as they make for quick, simple installs
that any handy person can do in no time.
No side, or overhead access is needed
for installation, as the panels install
straight up to your ceiling, even into
coffered areas. We provide the poking
tool and Allen wrench to install the
panels, plus you'll need 2 handy people
with 2 step-ladders - that's all you
need needed to quickly install the
panels. They're very lightweight, but a
bit bulky, so 2 people are needed to
install. The Rotofast anchors even
self-level the panels for a
virtually seamless installation. We also
offer
Cloud Anchors (click here) for
suspended star panel installations -
contact us for details.
To field cut star panels for
protruding objects, as you’re
installing the panels, mark the location
of the protrusion on the upper side of
the panel. Remove any fibers in the area
and use our poking tool to re-insert
them elsewhere in the panel. Then
carefully cut only the 1” Fiberglas for
the measured opening with a sharp
non-serrated knife or box cutter, making
sure not to cut the fabric below. Then,
make an “X” in the fabric below and fold
the 4 fabric flaps up into the opening,
gluing them over the top of the panel to
create a finished area, using a light
adhesive spray, such as 3M Super 77
spray. You can also field cut for
speakers and air vents, but you leave
the fabric intact and reinsert the fiber
strands through the fabric, after
cutting only the Fiberglas on the panel.
To field cut star panels that are
slightly larger than the installation
area, you first “un-rap” the fabric
on the side that you need to shorten.
Mark the new line to cut on top of the
fiberglass panel and remove and
re-locate any fiber optics in the area.
Being careful not to nick any fabric,
cut to the new size with a sharp
non-serrated knife or box cutter. Then
re-wrap the fabric over the top with
slight tension, using a light adhesive
spray such as 3M Super 77 spray to tack
the fabric back over the top of the
panel edge..
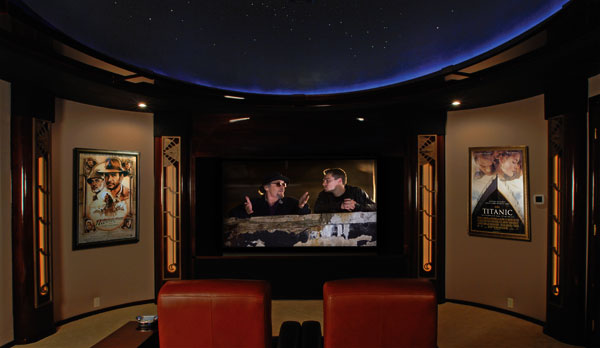
Star Panel Accent Lighting Options
A great framing idea is to use standard wood molding attached to the
ceiling around the Star Panel area to create the illusion of having a framed
skylight with the night sky in a window above. We can also provide spacers
for an inch clearance between the ceiling and the molding and we then cut
and pre-attach
our Remote Control Multi-Color LED Lighting package on the top of and panel
area, bathing the LED light around the ceiling near the panels lip of
the molding, casting an indirect glowing colored light to bathe accent
lighting on the ceiling around the panel perimeter. With each of our many control
options, you have color selection and dimming
capabilities, so you can create sunset and sunrise effects with the accent
lighting, plus change to a myriad of colors, intensity levels and automated
fades from color to color.
Another great idea is to surround the CineStarPanel™ ceiling area with a
cove or wood molding with accent lighting facing up into the panel perimeter
to create the illusion of cloud horizon, bathing the outer edge of the panel
area with color using our multi- control dimmable multi-color LED light
strips. You need the strips down at least 3” below the panel perimeter, with an
attached horizontal perimeter “lip” that’s at least 2” in from the
molding, or cove. Mounting the light strips 4”-5” below the panel
perimeter creates a larger, but dimmer, horizon effect. Call 612-243-1000, or Contact
CinemaShop.com for more options, discount package prices
on CineStarPanel™ products, or for more creative layout ideas.
Star Panel Accent Lighting Package
We offer high-quality RGB Multi-color LED light strips carefully selected for bright lighting and long life. We pre-cut and install the strips around either a 4' x 8', 8' x 8', or whatever panel area we create for you. We can also pre-cut and solder the strips to fit the upper lip of your molding surrounding the panel and ship for you to easily install on-site with double-stick tape. Package also includes the matching power supply, any needed voltage amps, lighting controller with IR remote, RF remote, RS-232 Controller, or our exclusive Wi-Fi Controller with Android® or Apple® iOS control app. Call 612-243-1000, or Contact CinemaShop.com for package pricing and for more accent lighting options.
CineStarPanel™ Warranty Information
With purchase of our star panels, there is a 1 Year
Manufacturer’s Warranty. This guarantees that any products
with defects in materials and/or workmanship will be
repaired or replaced by the manufacturer for a period of 1
year from the date of purchase. During this warranty period,
the manufacturer will replace or repair any defective parts
and correct any defect in workmanship without charge for
parts and labor. For warranty labor, contact us, as any
reimbursement must be pre-approved by us before proceeding.
We will not cover any warranty labor that has not been
pre-approved and performed by a qualified provider. For this
warranty to apply, the products must be installed and used
in accordance to its written instructions. Damage to, or
destruction of any product caused by the end user is not
covered by this warranty. Additionally, normal wear and tear
are not covered by this guarantee.
Shipping Damage is Not Covered under this Warranty. All
shipments received by you that seem damaged, must be noted
to the freight carrier, then refused and returned to the
address on your shipping label for claim processing. You
must report any damage claims immediately so that the party
responsible for the damage can make amends. We will not be
held responsible for any shipping damage and you may have to
claim freight damage with your own insurance company, if you
do not note it with the shipping carrier.
We will not be liable for any implied warranty or
merchantability or fitness for a particular purpose to any
person other than the original purchaser and user. Under no
circumstances will the manufacturer be liable for property
damage, economic loss, or any consequential damages
sustained in connection with the purchase and use of any
products. Some states do not allow limitations on how long
an implied warranty lasts, or do not allow the exclusion of
limitation of incidental or consequential damages, so the
above limitations or exclusions may not apply to you. The
manufacturer neither assumes nor authorizes any
representative or other person to assume for it any
obligation or liability other than such as is expressly set
forth herein. This warranty gives you specific legal rights,
and you may also have other rights which may vary, from
state to state.
CineStarPanel™ Specifications:
We use Guilford of Maine cloth to cover our
CineStarPanel™ products - click here for specifications.
Each panel draws 12V and 2.5W, or @ 0.2 amps max. Note: Panels
with a shooting star contain two (2) CineStarPanel™ control
boards with LED light sources and will increase the panel
another 2.5W, for a total of 5W. Multiple shooting stars per
panel add an additional 2.5W per pattern. Our CineStarPanel™
control electronics are all UL certified.
• UL fire rated material.
• UL certified control board electronics.
• Realistic Starry Night effect.
• Consists of a simple anchoring system (included with
purchase).
• Optional Shooting Stars are usually a 5' on a single
panel, or an 8' across 2 panels.
• Optional LED Accent Lighting effect with sunset effect, morning
sky effect, etc.
• Optional star constellations,
plus the big dipper are very popular.
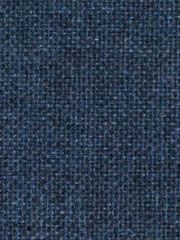
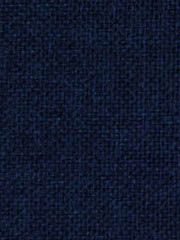
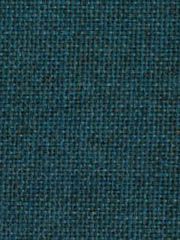
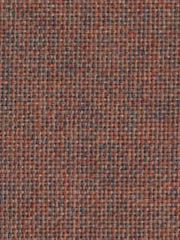
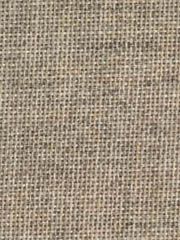
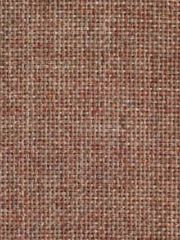
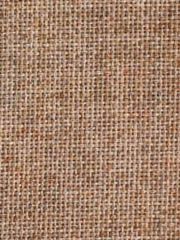
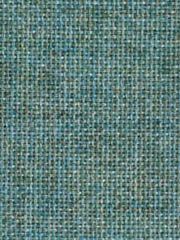
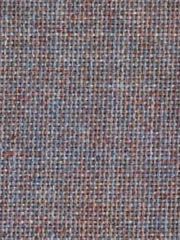
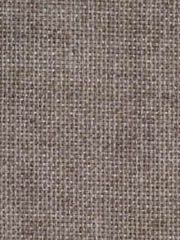
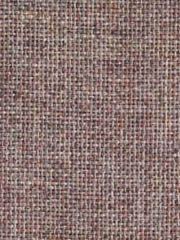
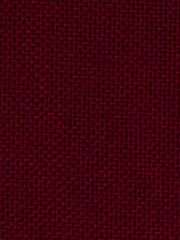
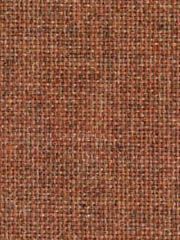
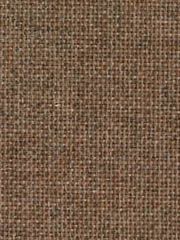
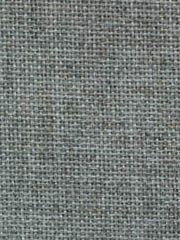
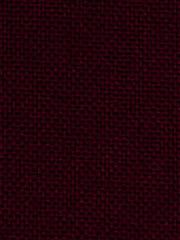
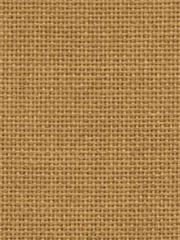
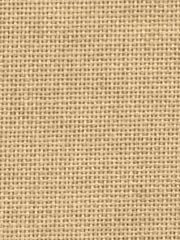
Optional Anchorage Fabric Colors for the CineStarPanel™
Note: Colors will vary from screen to screen, call us for fabric swatch samples for an exact color match - 612-243-1000 Monday-Friday 9 am to 5 pm Central Time.
 |
 |
 |
 |
 |
 |
| Red Delicious | Onyx | Slate | Amber | Pumpkin | Pine Needle |
 |
 |
 |
 |
 |
 |
| Midnight | Quarry Blue | Wolf | Willow | Straw | Angora |
 |
 |
 |
 |
 |
 |
| Aubergine | Mulberry | Cobalt | Eucalyptus | Green Olive | Goose |
 |
 |
 |
 |
 |
 |
| Cumin | Deep Water | Henna | Asteroid | Sea | Vanilla |
 |
 |
 |
 |
 |
 |
| Graphite | Sunshine | Coffee Bean | Geranium | Thistle | Green Apple |
 |
 |
 |
 |
 |
|
| Goldenrod | Poppy | Fossil | Lapis | Birch |
Optional FR701 Fabric Colors for the CineStarPanel™
 |
 |
 |
 |
 |
 |
| Wheat | Wedgewood | Baltic | Crystal Blue | Grey Mix | Medium Grey |
 |
 |
 |
 |
 |
 |
| Quartz | Aquamarine | Rose Quartz | Opal | Cherry Neutral | Apricot Neutral |
 |
 |
 |
 |
 |
 |
| Green Neutral | Vanilla Neutral | Blue Neutral | Black | Silver Neutral | Lavendar Neutral |
 |
 |
 |
 |
 |
 |
| Claret Accent | Cinnabar | Pumice | Amethyst | Buff | Blue Spruce |
 |
 |
 |
 |
 |
 |
| Eucalyptus | Ultramarine | Sienna | Pearl | Bayberry | Chrome Green |
 |
 |
 |
 |
 |
 |
| Bleu Papier | Bronze | Silver Papier | Blue Plum | Verte Papier | Deep Burgundy |
 |
 |
 |
 |
 |
 |
| Straw | Bone | Dune | Cement Mix | Terra | Lilac |
 |
 |
 |
 |
 |
 |
| Violet | Light Moss | Leaf | Lake | Stream | Desert Sand |
- Items on this page are custom made—there are no returns for refund or exchange.
- Normally, these products take about 4 weeks to ship out. Contact us for specifics.